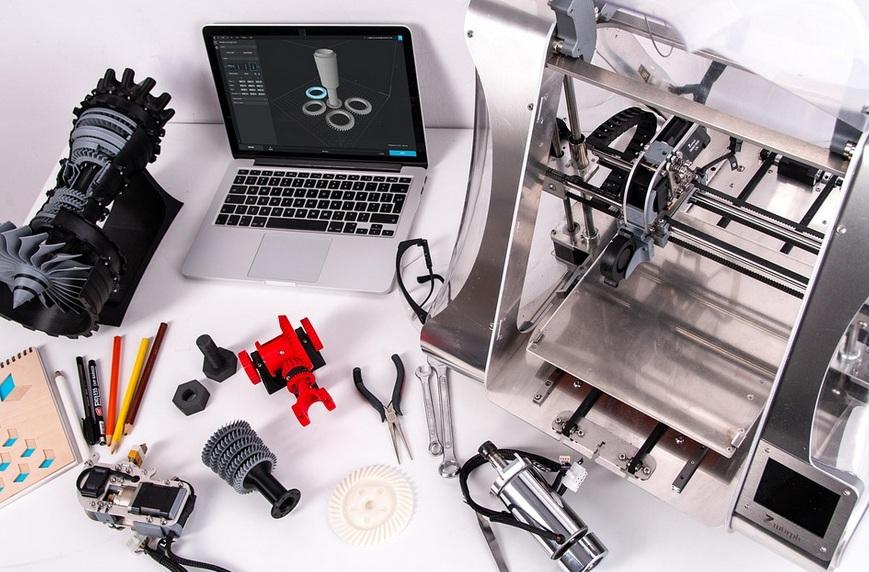
If you’re diving into the world of 3D printing, getting started is a lot easier than you might think. First, you'll need a good printer. Look for one that fits your needs—whether you’re making small models or larger projects. Some popular brands like Creality and Prusa have user-friendly options that are perfect for beginners.
Next up, you’ll want to pick the right filament. PLA is a great choice for newbies since it's easy to work with and doesn’t require a heated bed. Once you've got your printer and filament ready, it's time to find some designs to print. Websites like Thingiverse or MyMiniFactory offer tons of free models that are ready to go.
Now, let’s talk about software. You'll need slicing software to prepare your model for printing. Programs like Cura or PrusaSlicer are super helpful. They take your 3D model and turn it into a set of instructions for your printer, making it an essential part of your 3D printing techniques.
Once everything's set up, it’s time to hit print! Keep an eye on your first few prints to make sure everything goes smoothly. Adjusting settings like layer height and print speed can help you get the best results. Remember, practice makes perfect, and experimenting is key to mastering your 3D printing techniques!
Choosing the Right Printer for You
Choosing the right 3D printer can feel overwhelming, especially with so many options out there. But don’t worry, I’m here to help you nail it! Start by thinking about what you want to create. Are you looking to make toys, prototypes, or maybe custom parts? Different projects need different printers, so figuring this out first is key.
Next up, consider the printer types. FDM (Fused Deposition Modeling) printers are a great choice for beginners. They’re affordable and use filaments that come in a variety of colors. If you're feeling more adventurous and want higher quality prints, check out SLA (Stereolithography) printers. They use a resin and offer finer details, but they typically cost more and require special handling.
Don’t forget to think about the build volume! This is the maximum size of the object you can print. If you want to make larger items, look for printers with a bigger build plate. For smaller creations, a compact model will do just fine. Also, check if the printer has a heated bed; this feature helps in preventing warping and makes things easier when you’re getting into those 3D printing techniques.
Finally, look at the community and support around the printer. Having a helpful community means you’ll find plenty of tips and tricks when you're learning. Online forums or social media groups can be a lifesaver when you hit a snag. Most importantly, choose a printer that you feel comfortable with. The right one will make mastering those 3D printing techniques so much simpler and way more fun!

MarsWork Reusable Aluminum Spool for 3D Printing
Say goodbye to waste and keep your filament neat and tidy with this handy reusable aluminum spool
Product information
Product Review Score
4.64 out of 5 stars
10 reviewsProduct links
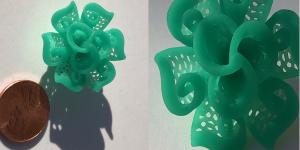
Essential Tips for Success in 3D Printing
Getting the hang of 3D printing can be a game changer for any maker. Here are some essential tips to boost your success. First off, start with quality filament. Not all filaments are created equal. Look for reputable brands that deliver consistent results. Poor filament can lead to clogs, poor adhesion, and failed prints, which is just frustrating.
Next, pay attention to your printer settings. Every 3D printer has its quirks, so don’t stick to default settings without testing. Experiment with layer height, temperature, and print speed. A little tweaking can make a huge difference in the quality of your prints. Keep a notebook or digital log of your settings so you can easily find what works best.
Bed leveling is another game changer. A well-leveled print bed can be the difference between a beautiful print and a pile of spaghetti. Make it a habit to check the bed level before starting a new project. Don’t skip this step; it can save you a lot of headaches down the line.
Lastly, don’t shy away from using support structures. While some designs can stand on their own, others might need a bit of help. Adding supports prevents failed prints and can improve overall quality. After all, successful 3D printing techniques are all about learning and adapting as you go!

ANYCUBIC UV Tough Flexible 3D Printing Resin
Create stunning, flexible designs with this high-quality UV resin that's perfect for detailed 3D prints
Product information
$235.00
Product Review Score
4.15 out of 5 stars
33 reviewsProduct links
Troubleshooting Common 3D Printing Problems
Troubleshooting 3D printing problems can feel like a maze, but don’t worry! Many issues have straightforward fixes. Let's tackle some common challenges and their solutions to help you master your 3D printing techniques.
1. Layer Adhesion Issues
If your layers aren’t sticking together, you might be dealing with poor bed adhesion or incorrect temperature settings. Make sure the printing surface is clean and leveled. Adjust your nozzle temperature a bit higher for better adherence. A heated bed can also work wonders to keep those layers bonded.
2. Stringing
Those annoying little strings can ruin a print! Often, this is caused by the nozzle oozing filament while moving. Try increasing the travel speed or enabling retraction settings in your slicing software. Lowering the temperature slightly can help, too, so your filament doesn’t melt and ooze everywhere.
3. Warping
If your print corners are curling up, warping is the culprit. Start with a solid adhesion method, like using a heated bed or glue stick on the surface. You can also try enclosing your printer to keep the temperature consistent. Choosing the right filament can prevent warping; materials like PLA are less prone to this issue than ABS.
4. Under-extrusion
If you're noticing gaps in your prints or they look weak, you might be under-extruding. Check your nozzle for clogs, and ensure your filament is feeding smoothly. Adjust the flow rate in your settings, and make sure your filament diameter is set correctly in your slicer. A little tweak here can save your project!