Next up, you’ll want to explore some slicing software. This is the program that converts your 3D designs into a format your printer can understand. Options like Cura or PrusaSlicer are pretty popular and they often come with tutorials to help you get rolling. Once you have the software set up, start with pre-made models available online. Websites like Thingiverse are treasure troves of free designs!
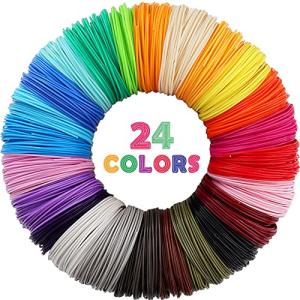
When you’re ready to dive into 3D printing techniques, test different materials. PLA is a great starting point; it’s easy to work with and provides solid results for most projects. As you gain confidence, experiment with ABS, PETG, and flexible filaments. Each material has unique properties that can add flair to your creations.
Finally, don’t forget to fine-tune your printer settings. Adjustments like temperature, print speed, and layer height can make a huge difference in print quality. Don't be afraid to make small changes and see what happens. The key is to experiment and learn from your successes and challenges. The world of 3D printing techniques is waiting for you, so get creative and have fun!
Essential Tools for Successful Prints
To make the most out of your 3D printing journey, having the right tools in your toolbox is key. These tools can really elevate your 3D Printing Techniques and help you achieve smoother prints with less hassle. Let's break down some must-haves that can transform your printing experience.
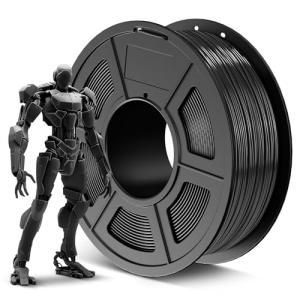
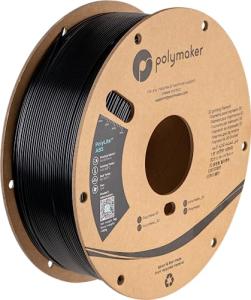
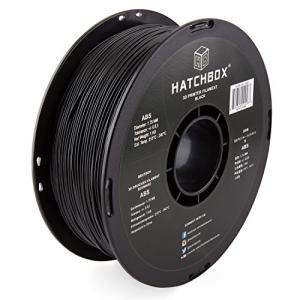
1. Good Quality Filament
Start with high-quality filament. This is your primary material, and it makes a huge difference. Look for reputable brands that offer consistent diameter and rich colors. PLA and ABS are great starters, but venture into PETG or TPU as you get comfortable.
2. Print Removal Tools
Getting prints off the bed can be tricky at times. A trusty spatula or scraper helps a lot. These tools make it easier to pop your creations off without damaging them. And don’t forget a pair of tweezers—perfect for removing pesky support structures!
3. Calibration Tools
To nail those 3D Printing Techniques, calibrating your printer is a must. A good calibration tool can save you time and filaments. Consider a digital caliper for measuring, and a set of leveling cards or paper for ensuring your print bed is good to go.
4. Ventilation Gear
Printing can release fumes, especially with certain materials. Having a fan or a well-ventilated workspace keeps you healthy while you work on your amazing creations. It’s a small step that makes a big difference.
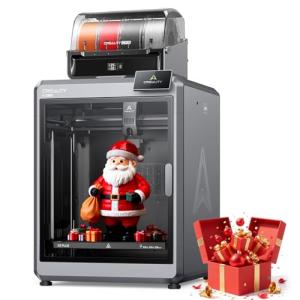
Creality K2 Plus Combo 3D Printer with Multicolor Printing
Bring your imagination to life with vibrant multicolor prints and user-friendly features in the Creality K2 Plus Combo
Product information
$1,299.00
Product Review Score
4.41 out of 5 stars
15 reviewsProduct links
Tips for Improving Print Quality
Getting the best print quality from your 3D printer can feel like a challenge sometimes, but with a few tips, you can really step up your game. First, make sure your printer is calibrated correctly. It’s amazing how much a little adjustment can improve your prints. Check the bed level, nozzle height, and ensure everything is tight and in place.
Next, pay attention to your filament. The type and quality of filament you use can make a big difference in the final product. Store your filament properly to keep it dry and dust-free. If you’re working with a specific filament type, like PLA or ABS, adjust your printing temperature accordingly. The right temperature makes all the difference!
Another crucial part of the 3D printing techniques is your slicer settings. Don’t be afraid to play around with layer height, print speed, and infill. A lower layer height will give you smoother surfaces, while a slower print speed can help with detail. Adjusting the infill can also affect the strength of your print, so find what works best for what you’re creating.
Finally, keep your printer clean. Dust and debris can mess with your prints in unexpected ways. Regularly clean the nozzle and the build plate to prevent problems before they start. Trust me, a little maintenance goes a long way!
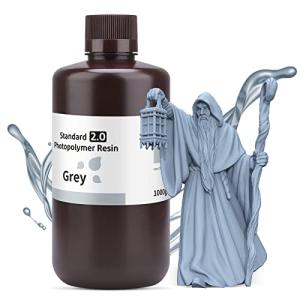
ELEGOO 2.0 Grey Photopolymer Resin for 3D Printing
Get stunning detail and vibrant colors with this easy-to-use resin designed for top-notch 3D printing results
Product information
$24.99
Product Review Score
4.75 out of 5 stars
199 reviewsProduct links
Exploring Advanced 3D Printing Techniques
Once you’ve gotten the hang of basic 3D printing, it’s time to dive into some advanced 3D printing techniques that open up a whole world of creativity. These techniques can help you achieve stunning details, unique textures, and even more functional designs. Let’s check them out!
First up, we have multi-material printing. This technique lets you combine different types of filaments in a single print. Imagine a colorful, multi-textured final product! You can create everything from toys with flexible parts to prototypes with detailed finishes. It’s perfect for designers looking to push the limits of what's possible.
Next, consider exploring dual extrusion. This involves using two nozzles to print two different materials at once. You can mix materials with varying properties, like a hard outer shell and a soft inner core. This technique adds versatility to your projects and can make your prints not just look good but function better, too.
Another cool option is print-in-place designs. This advanced 3D printing technique allows you to create fully assembled objects in one go. Think of moving parts, like hinges or mechanisms, that come out of the printer ready to use. It's a game changer for anyone interested in engineering or intricate designs.
Finally, let’s not forget about post-processing techniques. Using sanding, painting, or even chemical smoothing can elevate your prints from okay to wow! These finishing touches can really make a difference, adding a professional feel to your creations. So get ready to experiment and have fun with these advanced 3D printing techniques!