Getting the hang of 3D printing can feel like a wild ride, but with the right tips, you’ll steer clear of the common bumps. First things first, always double-check your printer settings. Make sure your nozzle temperature matches the filament you’re using. If you’re printing with PLA, you want that nozzle nice and warm, but not too hot. A quick look at the recommended temperatures can save you a whole lot of headaches.
Next up, bed leveling is your best friend. A properly leveled build plate means your prints stick better, and they’re less likely to warp. Spend a few minutes making adjustments before you start printing. It can make a huge difference in the final result. Remember, a good foundation leads to a sturdy print!
Don’t forget about cooling! Using a cooling fan can help your layers solidify evenly, especially for detailed prints. If it’s too hot and stuffy, your design might droop or lose shape. Take the time to experiment with different cooling setups. Each filament behaves uniquely—what works for one might not work for another.
Finally, always clean your printer regularly. Dust and leftover filament can interfere with your prints. A quick wipe down and nozzle cleaning can extend the life of your printer and enhance print quality. Keeping everything tidy ensures you get the best out of your 3D printing techniques.
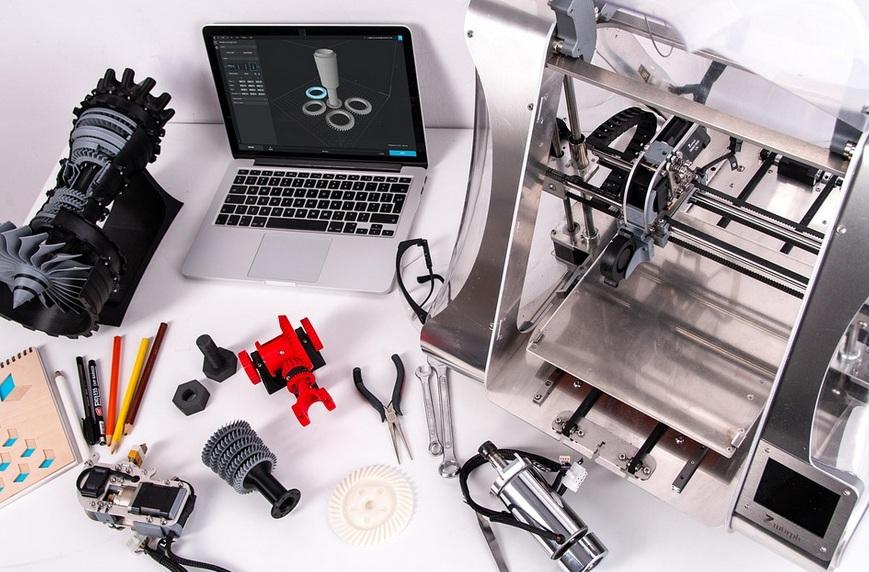
Essential Techniques for Beginners
Jumping into 3D printing can feel like a big step, but don’t worry! There are some essential techniques that can help you get started smoothly. First off, let’s talk about understanding your printer. Take the time to dig into the manual and learn about your model. Knowing the ins and outs of your machine sets you up for success.
Next up, calibration is key. It might sound technical, but getting your printer calibrated right ensures great prints. Make sure your print bed is level and that the nozzle height is just right. A little bit of tweaking can save you hours of frustration later on.
Diving into materials is also super important. Different projects call for different filament types, so start with basic PLA. It’s user-friendly and works well for a variety of projects. Once you feel comfortable, you can explore other materials like ABS or PETG.
Finally, don’t shy away from learning software basics. Familiarizing yourself with slicing software makes a huge difference in print quality. It’s where all the magic happens, so get to know how to adjust settings like layer height and infill density. With these 3D printing techniques under your belt, you're ready to create amazing things!
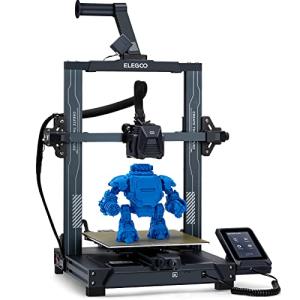
ELEGOO Neptune 3 Pro: 3D Printer with Large Printing Size
Experience next-level 3D printing precision and efficiency with the ELEGOO Neptune 3 Pro, a large-format 3D printer tailored to your imagination
Product information
$1,223.87
Product Review Score
4.56 out of 5 stars
217 reviewsProduct links
Advanced Methods for Creative Projects
If you’re diving into the world of 3D printing, getting familiar with advanced 3D printing techniques can really set your projects apart. Whether you’re looking to create intricate designs or enhance your prototypes, these methods open the door to exciting possibilities.
One popular technique is multi-material printing. This lets you mix different materials in one go, adding variety to your projects. Imagine printing a model that combines rigid parts with flexible ones! It’s perfect for creating functional prototypes or unique art pieces. Check if your printer supports this feature since not all machines can handle multiple filaments at once.
Another method worth exploring is using soluble supports. These are super handy for complex geometries that need extra help. Instead of traditional support structures that you have to cut away, soluble supports dissolve in water or a specific solution after printing. This means you can achieve cleaner finishes and save time on post-processing tasks.
Don’t overlook CAD software skills. Knowing your way around design software can completely elevate your creative game. You’ll be able to manipulate designs and troubleshoot any issues before hitting print. Plus, many programs offer features tailored to specific 3D printing techniques, making it easier to bring your ideas to life.

TH72 Flexible Tough Resin for Impact-Resistant Printing
Experience durable, flexible prints that can handle the toughest challenges
Product information
$28.99
Product Review Score
4.67 out of 5 stars
194 reviewsProduct links
Fix Common 3D Printing Issues Quickly
Dealing with issues while 3D printing can be super frustrating, but don’t worry! Let’s tackle some of the most common hiccups together, and you’ll be back to printing in no time with these handy 3D printing techniques.
First off, if you notice your prints not sticking to the bed, try adjusting the bed level. A misaligned bed can lead to all sorts of trouble. Just a quick tweak can provide that perfect first layer adhesion. You can also experiment with different bed materials like glass or PEI sheets to get better results.
Next, if your layers are looking uneven or the print starts curling, it might be time to check your temperature settings. Too hot or too cold can affect how the plastic fuses together. A little adjustment can make a huge difference! Keep an eye on your printer’s settings, and don’t forget that different filaments work best at different temperatures.
Lastly, if you’re experiencing stringing—those pesky little hair-like threads between parts—try adjusting your retraction settings. Increasing the retraction distance can help pull that filament back when the print head moves. It's a simple fix that can keep your prints looking neat and tidy.
Remember, these quick fixes are just a start. Exploring various 3D printing techniques can save you time and frustration, so don’t hesitate to dive deeper into troubleshooting to get the best out of your prints!