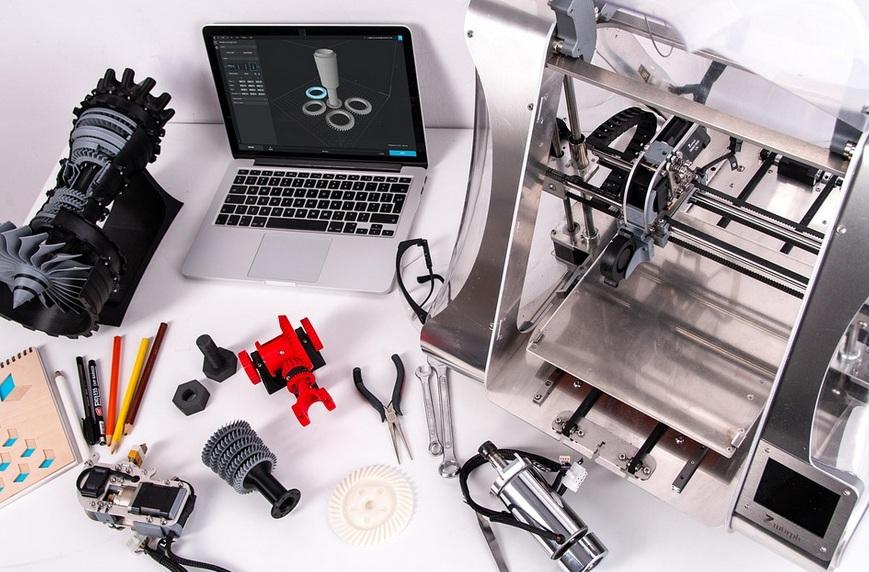
So, you’re ready to dive into the world of 3D printing? Awesome choice! Getting started with 3D printing techniques is all about understanding the basics and finding the right tools for your projects.
First things first, you need a 3D printer. There are plenty of choices out there, from budget-friendly options to more advanced machines. If you’re just starting, look for a user-friendly printer that offers great support and community resources. Trust me, it makes the learning curve way easier!
Next, you’ll want to explore 3D modeling software. This is where you’ll design your projects. Don’t worry if you’re not a tech whiz; there are plenty of simple programs to help you create your designs. Alternatively, you can download pre-made models from online libraries. Just be sure to check the compatibility with your printer.
Once you have your printer and software ready, it’s time to talk materials. Common materials like PLA and ABS are great for beginners. They’re easy to work with and produce solid results. Plus, they come in a variety of colors, so you can really let your creativity shine.
Finally, don’t skip out on learning about slicing. This process prepares your 3D model for printing by converting it into a format your printer understands. Slicing software often has settings you can tweak to improve print quality, so playing around with those options can lead to better results. Get comfy with these basics, and you’ll be on your way to mastering essential 3D printing techniques in no time!
Top Tips for 3D Print Success
Getting into 3D printing can feel like a rollercoaster ride. With the right 3D printing techniques, you’ll zoom past the bumps and enjoy smooth sailing. Here are some top tips to keep in mind as you dive into this exciting world.
First off, always double-check your printer settings. Things like layer height, print speed, and infill density make a huge difference in quality. If you're unsure, go for slower speeds and higher layer heights at first. This way, you’ll get great detail, especially with intricate designs. As you get the hang of things, you can play around with the settings to find what suits you best.
Don’t underestimate the importance of bed adhesion. A well-prepared print bed can save you a lot of headaches. Clean the surface and use adhesives like glue sticks or painter's tape for better grip, especially with tricky materials. Remember, a solid start sets the tone for a successful print!
Also, be choosy with your filament. Different materials behave differently. If you're starting out, stick to PLA, which is user-friendly. As you gain confidence, try ABS or PETG. Just make sure you read up on each type since they all have unique properties and requirements.
Lastly, failures happen. Don’t get discouraged if your first few prints don’t turn out as expected. Analyze what went wrong, adjust your settings, and try again. Every failed print is a step toward mastering those essential 3D printing techniques!
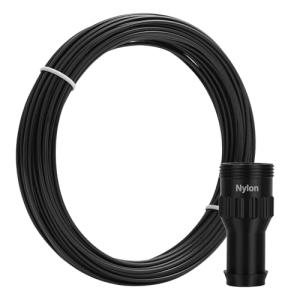
50g Black Nylon Filament 1.75mm for 3D Printing
Durable and versatile nylon filament perfect for your 3D printing projects
Product information
$9.99
Product Review Score
4.84 out of 5 stars
146 reviewsProduct links
Common Mistakes and How to Avoid Them
Getting started with 3D printing can feel a bit overwhelming, especially when you're trying to grasp the many 3D printing techniques out there. One common mistake is skipping the setup process. Take your time to level the print bed properly and to calibrate your printer. If this step isn’t done right, you’ll face a ton of issues down the line, like misaligned prints or even failed jobs.
Another pitfall is not cleaning the print bed or using the wrong type of adhesive. Dust, oils, or leftover filament can mess with adhesion, causing your prints to warp or detach mid-job. Give that surface a good wipe down before starting. Depending on the material, using glue sticks or tape can also help a lot. Experiment with what works best for you.
A biggie is choosing the wrong settings for your print. Don’t just stick with default settings—take the time to get to know your printer and the specific materials you’re working with. Each filament type has its sweet spot for temperature and speed. Adjust these settings based on the advice of seasoned users or the manufacturer’s guidelines to nail those 3D printing techniques.
Also, don’t neglect the power of research! There are tons of online forums, tutorials, and communities full of knowledge on 3D printing techniques. If you run into a snag, there’s a good chance someone else has experienced it too. Ask questions and learn from their mistakes. It’ll save you time and frustration in your 3D printing journey.
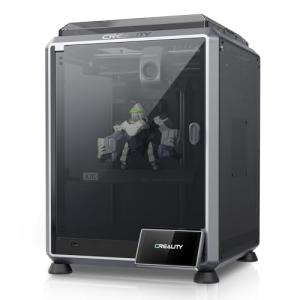
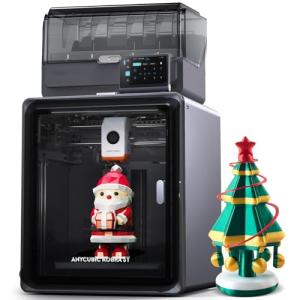
Creality K1C 3D Printer with Fast Printing Speed
Experience high-speed 3D printing without sacrificing quality, perfect for any project
Product information
$599.00 $419.00
Product Review Score
4.21 out of 5 stars
217 reviewsProduct links
Advanced Techniques for Stunning Prints
If you're diving into the world of 3D printing, mastering some advanced techniques can really take your prints to the next level. Let’s talk about a few methods that can help you create stunning designs and achieve that polished look.
First off, consider using supports properly. You want your prints to look great and be functional, right? Using the right support structures can help you print complex designs without a hitch. Experiment with different support densities and styles. This way, you can choose the option that best suits your print while keeping cleanup easy.
Next up, layer height matters. While standard settings may work fine, adjusting the layer height can dramatically change your print's quality. For finer details, go with a smaller layer height. It’ll take longer to print, but those intricate designs? Totally worth the wait. For larger, bulkier items, a higher layer height speeds things up without sacrificing too much on quality.
Don’t forget about temperature settings. Each filament type has its sweet spot. If you're using PLA, you'll find it prints best around 190-220°C, but other materials like ABS or PETG need different temps. Dialing in the right temperature not only improves adhesion but also enhances the finish of your print.
Finally, post-processing can elevate your prints significantly. Sanding, painting, or even using a chemical bath can smooth out rough surfaces and enhance appearance. This is where you can really showcase your creativity and turn a good print into a stunning piece of art. With these advanced 3D printing techniques, you're well on your way to impressing friends and family with your amazing creations!